Getting Started - Create a Schedule in 5 Steps
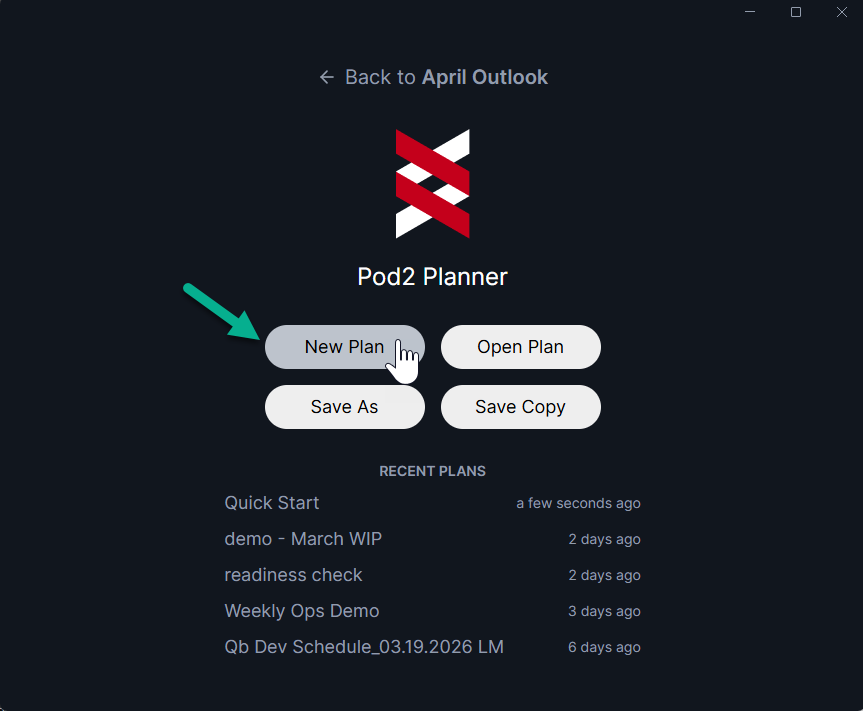
1: Create a new plan: open the Planner application and select “New Plan”
When you create a new plan, a simple schedule template and example resources will be automatically created. We'll edit those later.
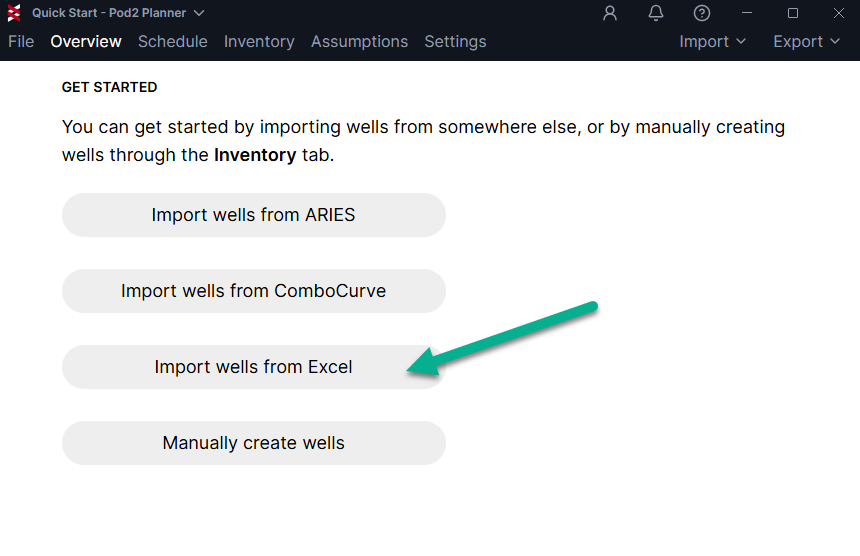
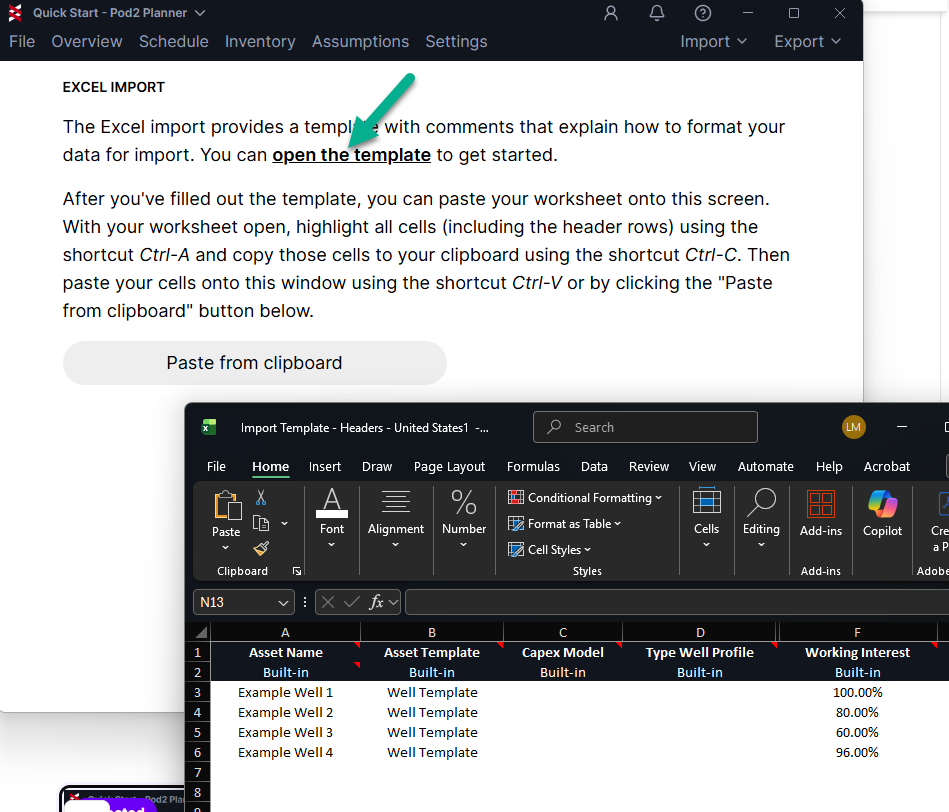
2: Add Inventory Wells: Click "Import wells from Excel" and choose the "Import Headers" option
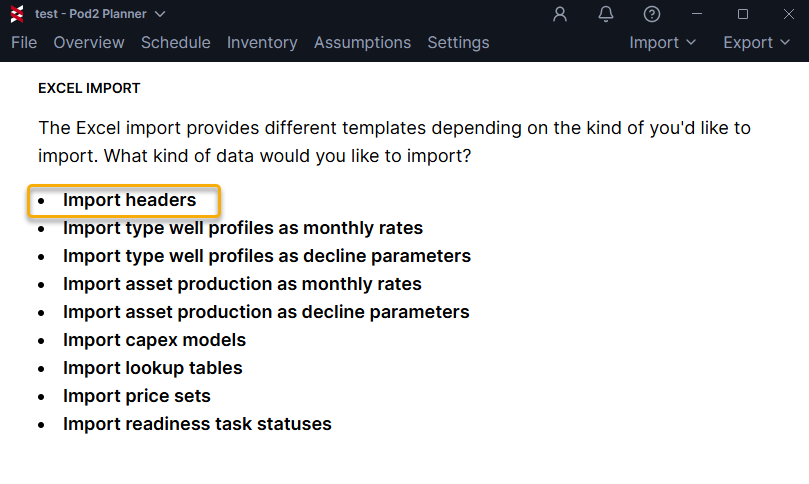
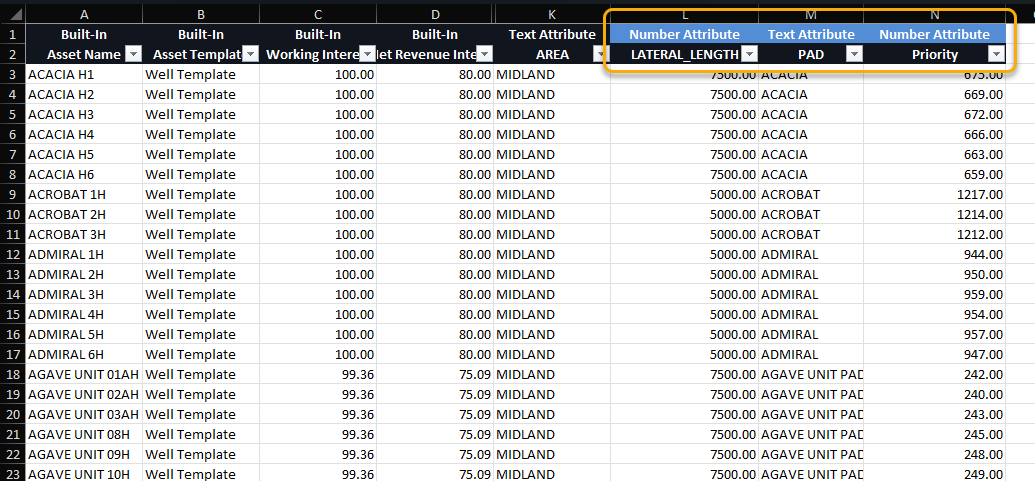
Click "open the template" to get started. Define key attributes like "Pad" and "Lateral Length" as custom attributes in this import sheet, and they'll be added automatically. Copy the data and hit "Paste from Clipboard" to load into the Planner.
3: Edit the Asset Template: add or edit activities and required resources types that will dictate scheduling logic
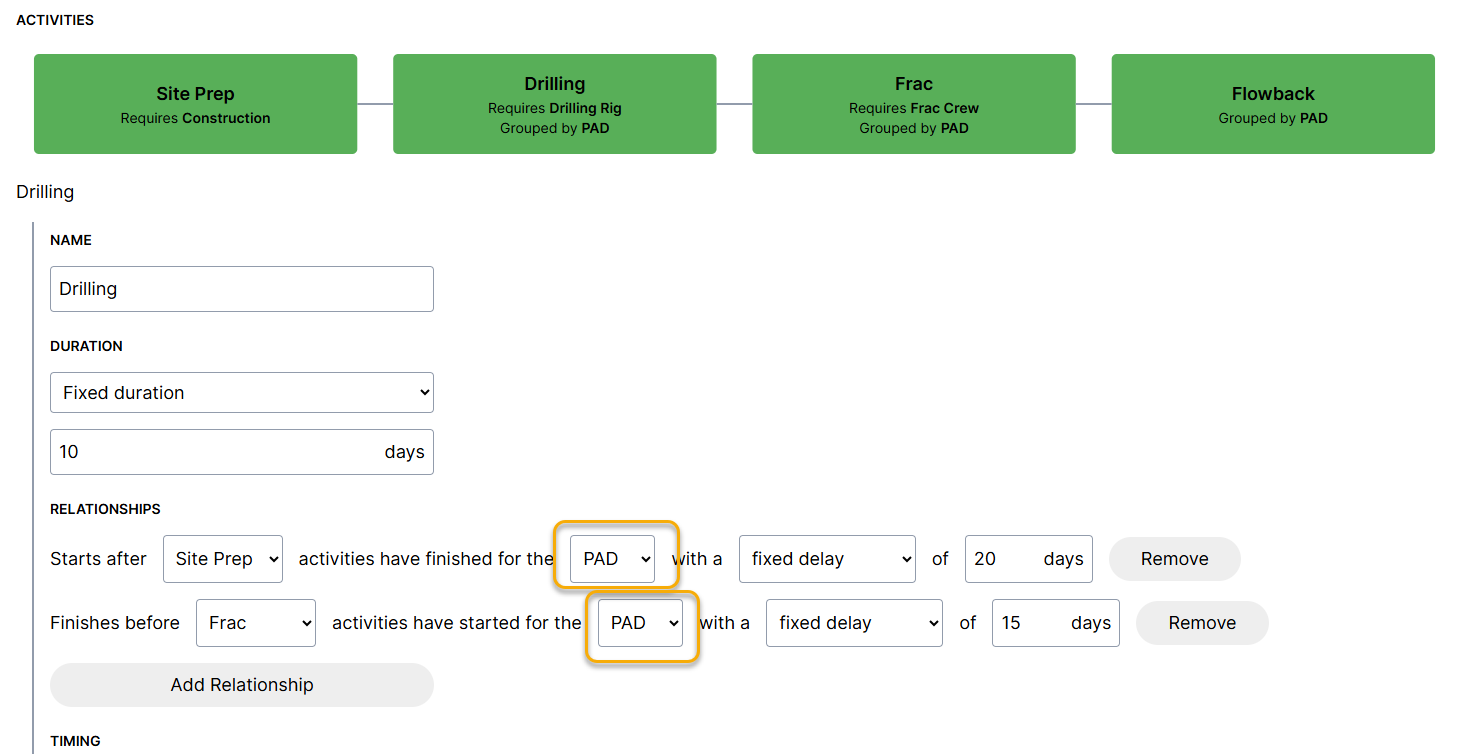
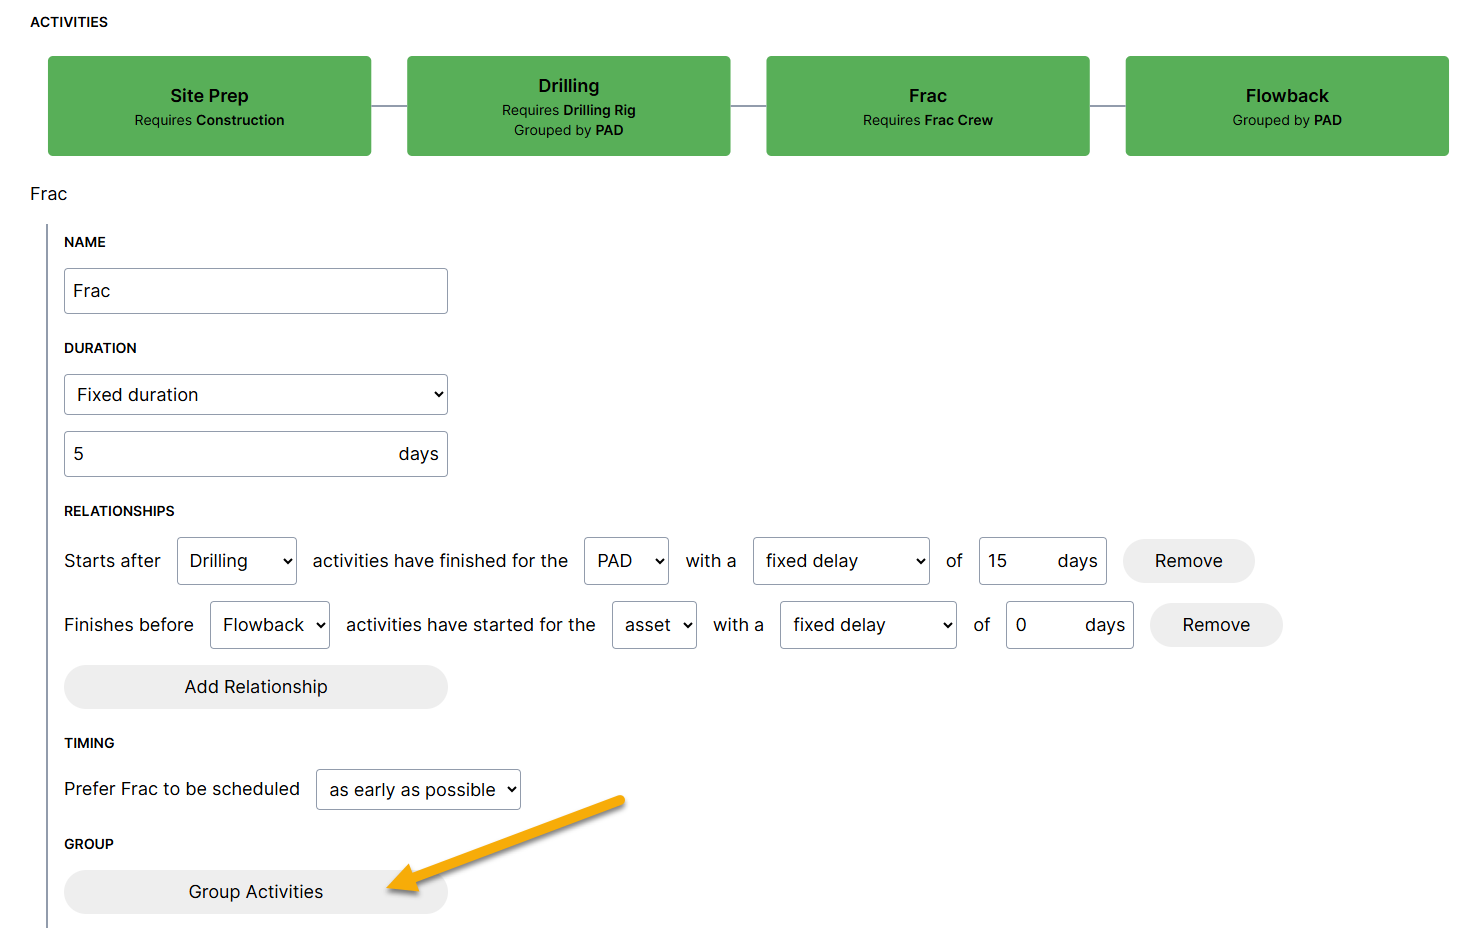
To model pad drilling logic, change the relationship settings from "Asset" to "Pad" and group activities by "Pad" as seen below:
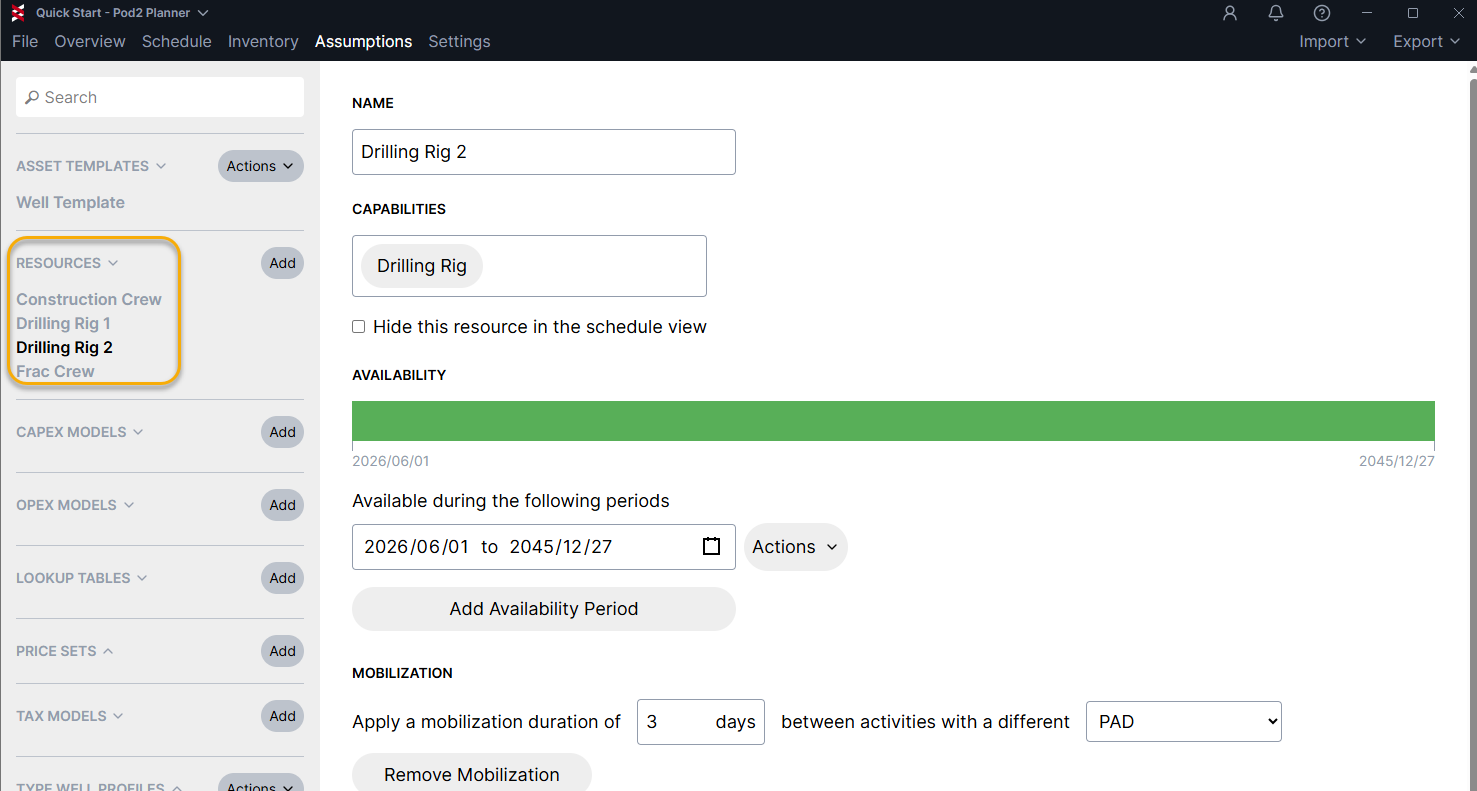
4: Create Resources: Create additional rigs, frac crews, etc., needed for constrained scheduling and drag & drop capability on the Gantt chart
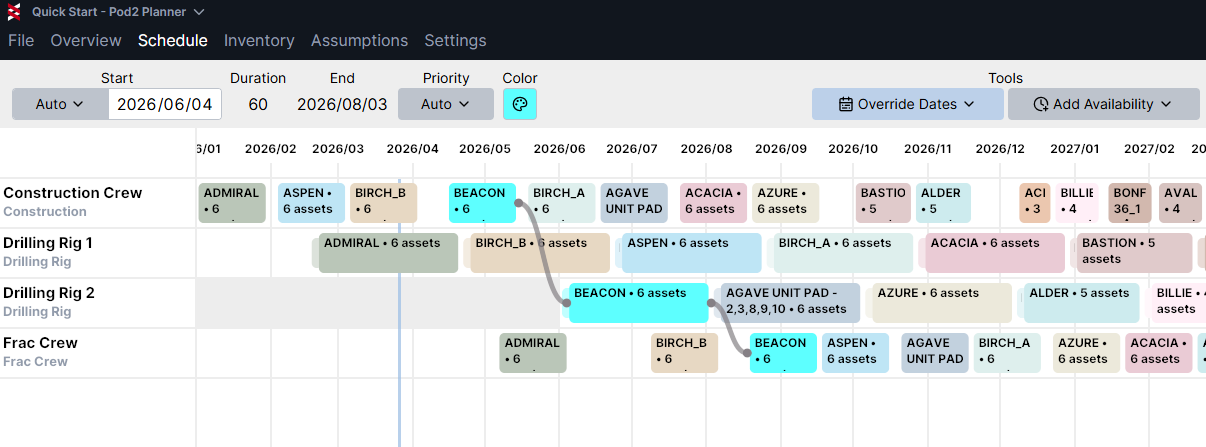
5: View the Schedule: move to the Schedule tab to view and interact with the Gantt chart
Use the shortcut Ctrl+G to toggle between well and pad view. Go to Settings > Display to edit display text and color settings.